How to Make a Chipboard Key Holder
Many months ago I bought a bunch of chipboard pieces when they were on sale. I had big plans for these pieces! However, they were put aside and started to collect dust as I began my living room redesign. But now I have pictures up, new furniture and I’m ready to get started on my chipboard pieces!
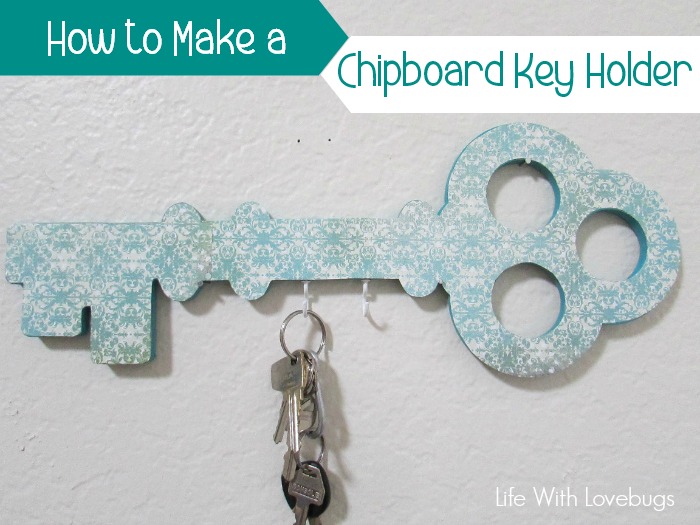
My first chipboard project is this key holder, and I have to say this is one of those rare occasions where the project in my head actually turned out the way I thought it would. Here’s what you need to get started:
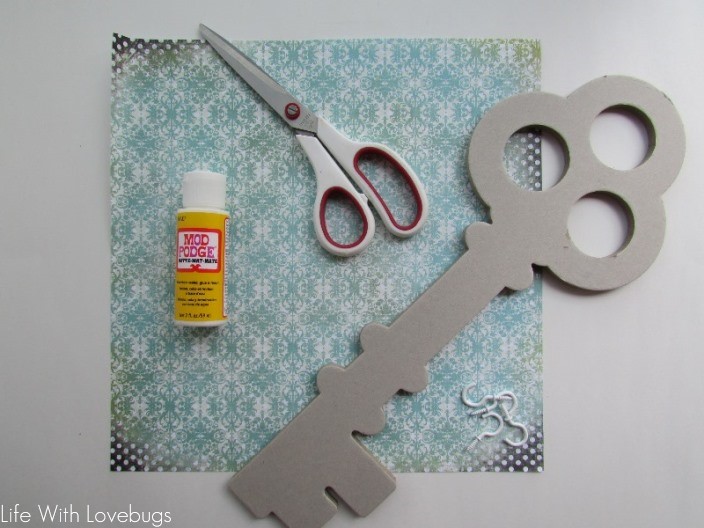
Supplies:
- chipboard piece
- printed paper
- scissors
- craft paint in a coordinating color
- paint brush
- paper glue (I used Mod Podge)
- disposable sponge (to apply glue)
- cup hooks
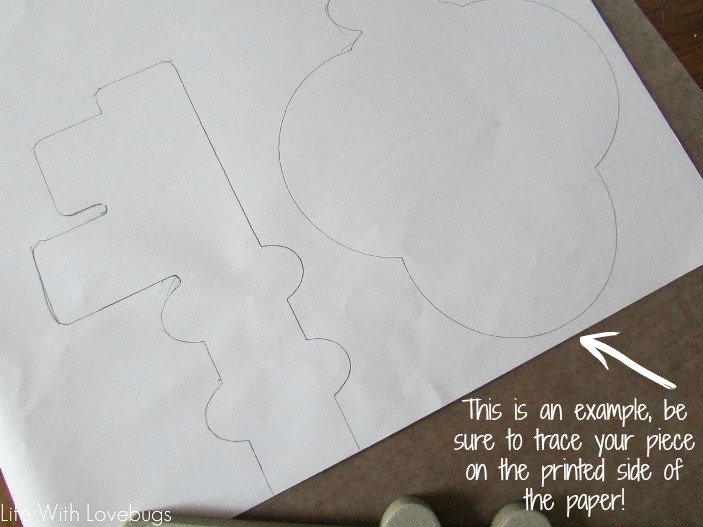
I started by tracing the key shape onto my printed paper. I had to do it in two sections because the key was too long, and the first time I messed up by tracing on the back of the paper. When I cut it the shape was opposite, luckily I had enough paper left to do it again!
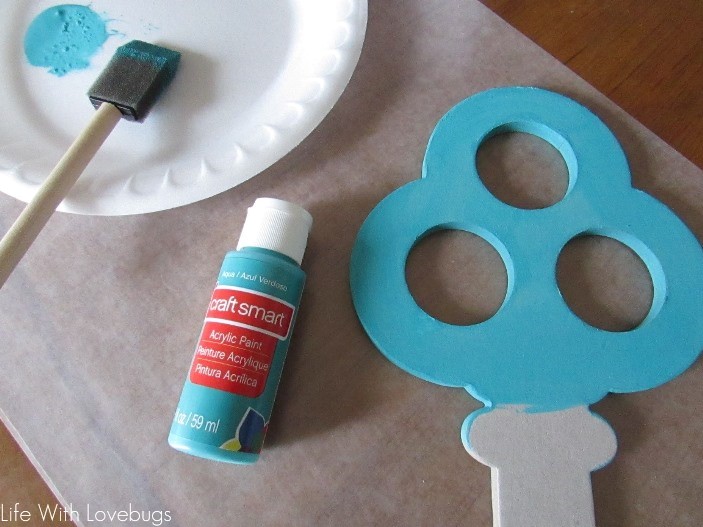
I then set the paper aside and painted the key with a coordinating blue color. I painted the front, top, bottom and inside the key holes. This will give your piece a finished look in the areas that are not covered by paper, also I was told by a friend that if you paint chipboard before gluing on paper then the paper will adhere better. I did not paint the back of the key since you will not see it.
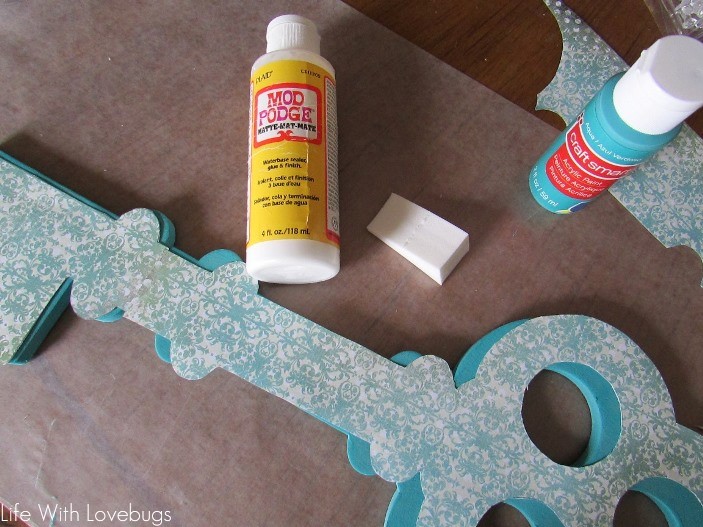
After the paint was dry, I applied Mod Podge using a disposable sponge to the front of the key. Then I used a credit card to smooth out the bumps.
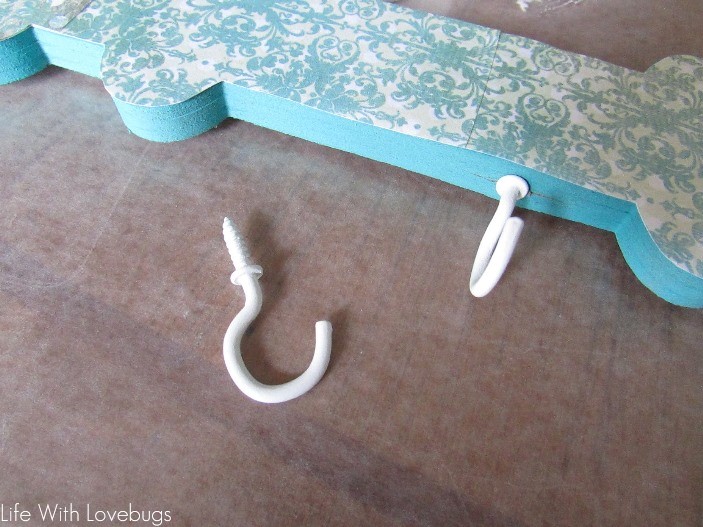
Lastly I took my cup hooks, measured and marked where I wanted them to be and then simply twisted them into place.
That’s it! This was a quick project, I painted the key one night and then the next morning I completed the remaining steps in about 15 minutes. I used a few extra nails to hang the key because I wanted to make sure that it didn’t fall while holding my keys. It’s been up for about a month and so far, so good!


