How To Make Mod Podge Charms
About a month ago I went to a huge arts & crafts expo here in Southern California. At the show I visited a lot of booths and received some great products to try out, so I’m going to try and make as many projects as I can to show you how to use them! My first project uses a few Mod Podge products that I received from Plaid Crafts.
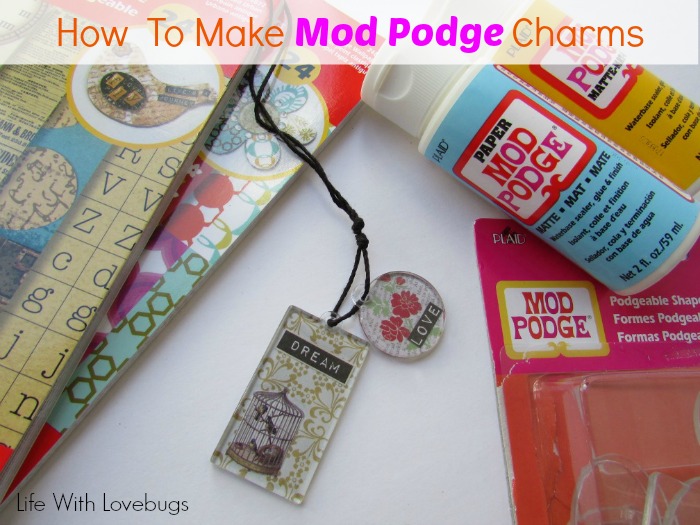
I’ve used Mod Podge before, but I had never used the Podgeable Papers or the Podgeable Shapes. I’m not much of a scrapbooker but I do like to work with pretty papers. My first thought was to create a key chain with the shapes, but I thought that it would really take a beating and the lovely paper would probably get destroyed. So I decided on making a necklace pendant instead!
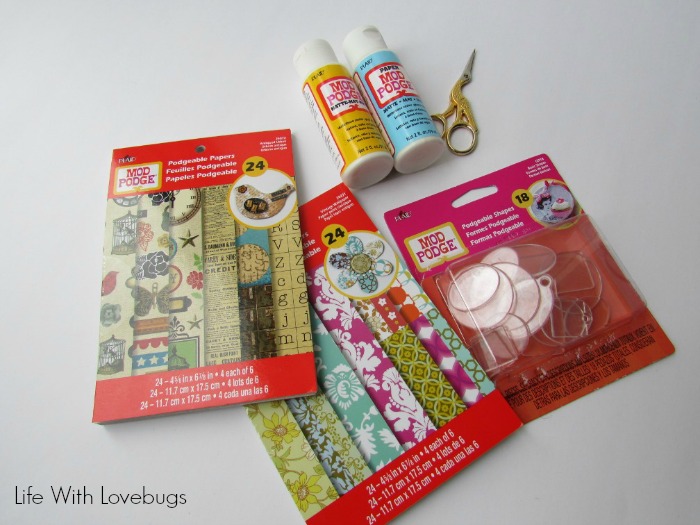
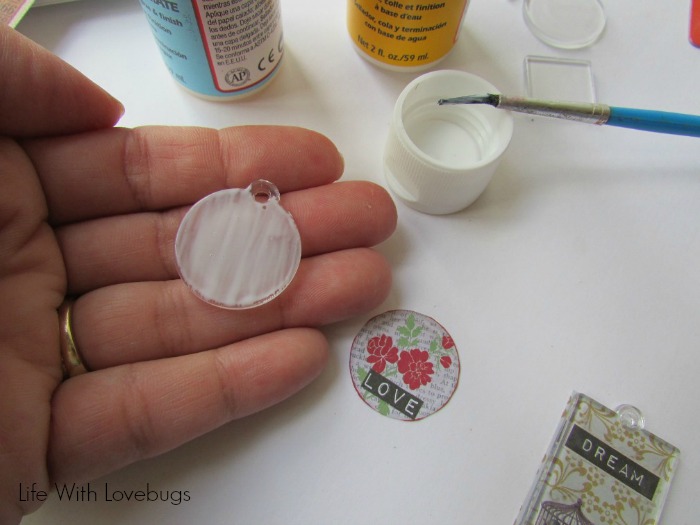
First, I cut out the images that I wanted to adhere to the Podgeable Shapes. I used my small embroidery scissors to cut out the shapes because they were very tiny.
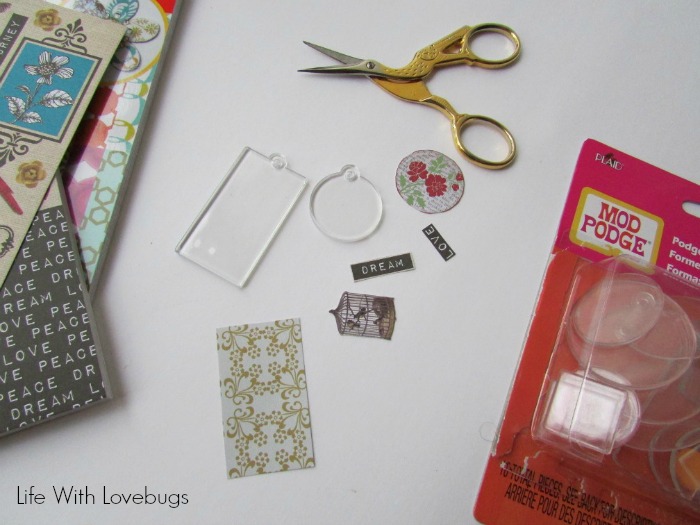
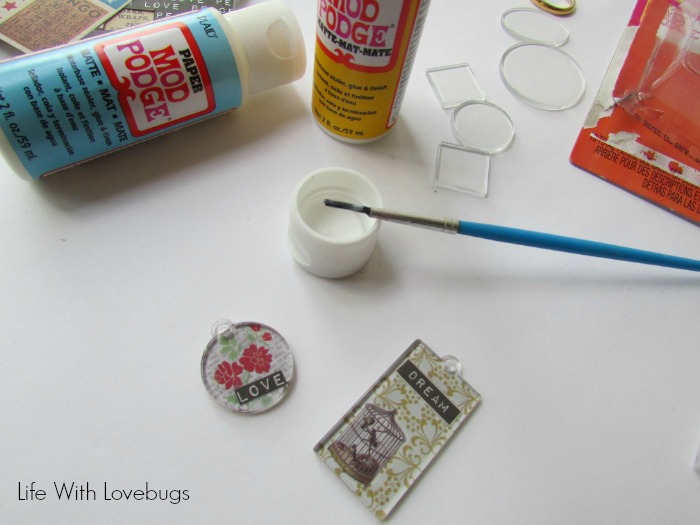
Next I used the Paper Mod Podge to attach the words LOVE and DREAM to my background images.
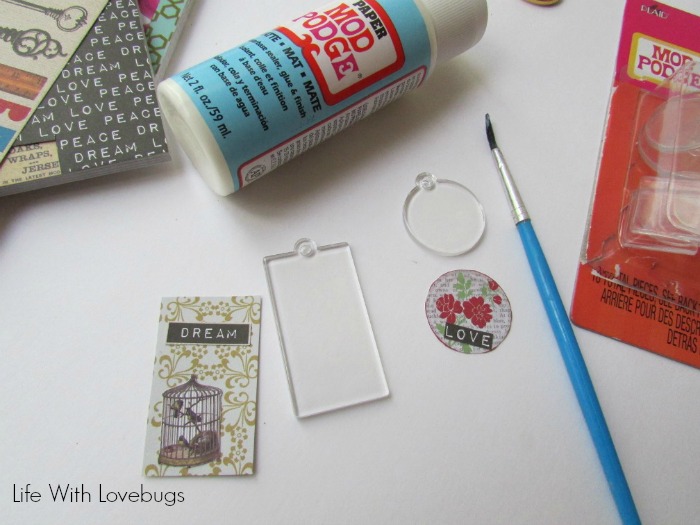
Lastly I applied a thin layer of Matte Mod Podge to the back of my Podgeable Shapes and then pressed them onto the paper designs, smoothing out the paper and applying pressure to make sure that I didn’t get any creases or bubbles. I also applied a thin layer to the back of the charms to protect the paper.
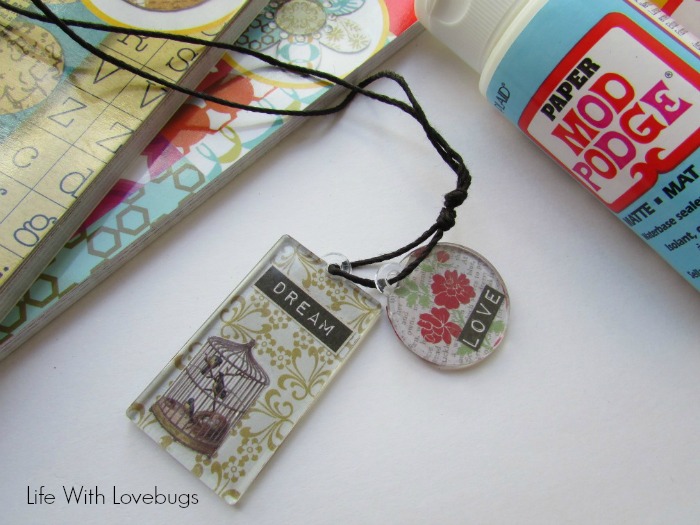
To hang the charms I used a thin bamboo cord and simply knotted it at the top. Pretty cute, isn’t it? My daughter sure thought so, she liked mine so much she asked me to make one for her too!
What would you make with these Mod Podge products?


These are just so cute! I need to do something like this with my daughter!