Easy Chocolate Covered Cookies
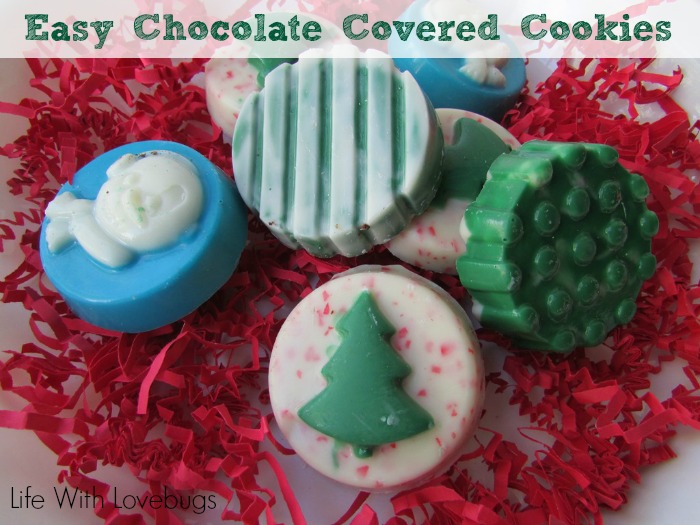
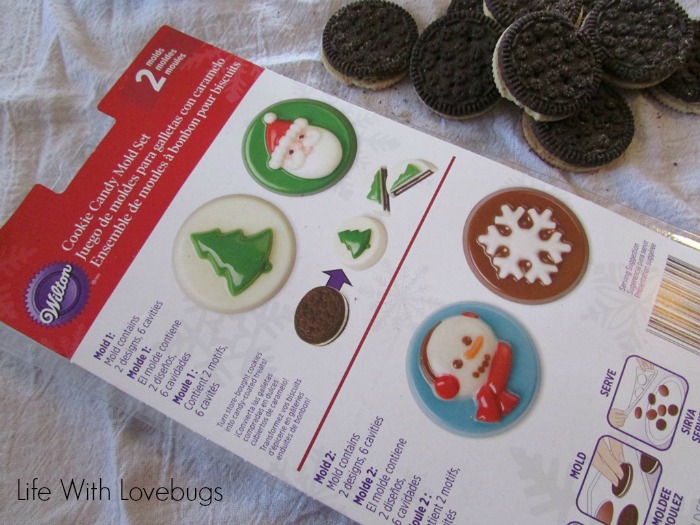
I’ve seen these candy mold in stores for a long time. Have you seen them? The ones that you fill with melted chocolate and then add a sandwich cookie in the middle? The designs are always so cute, but they looked really difficult to make. I thought since I have a little but of time right now, I would try to make them to bring to Christmas, or give to the neighbors as holiday gifts. Let me tell you, I wish that I would have read the directions on the package one of those many times I admired them in the store. It was so easy!
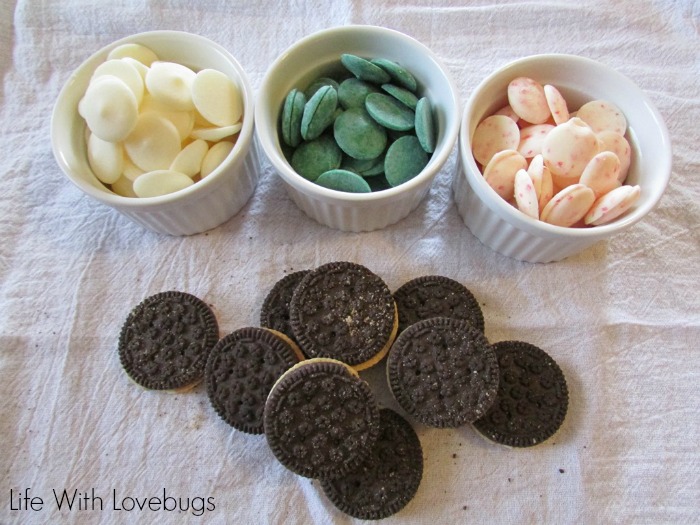
So, here’s what you do. Start with a bowl full of candy melts in the color that you want your design to be, you only need a small amount for the design. Melt them according to the package.
Once melted use a pastry brush, or new paint brush, to carefully fill the mold. Once you have your design painted, tap gently on the table to release any bubbles then put the mold in the fridge for 20 minutes to set.
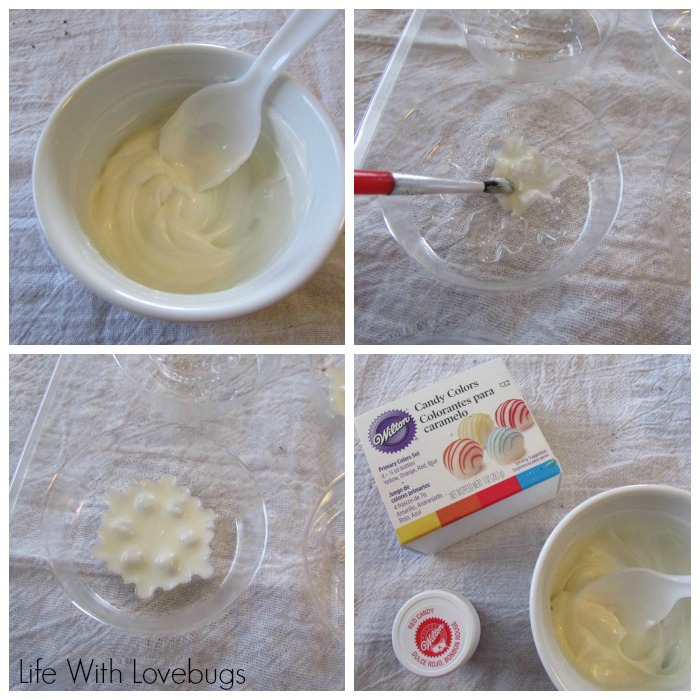
Next, prepared the candy melts that you want surrounding the cookie. There are lots of available colors, and even different flavors available. If you can’t find the color you want, you can use candy dyes to make your own (the blue color below I made with the dye). Fill the mold about 2/3 full with your candy melts, then press the cookie into the middle until the melted chocolate is surrounding the edges.

Gently tap the mold a few times on the table. Refrigerate for another 20 minutes, or until the chocolate is set and the cookie pops out of the mold easily.
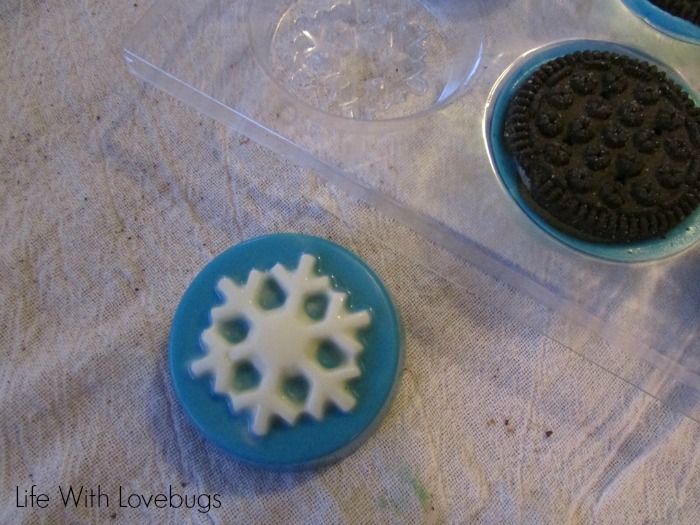
I was very surprised at how easily the cookies popped out. I thought for sure that half of my design was going to be left behind in the mold. This was so easy that I want to make these for every gift and for every holiday! I can’t wait to try out more flavors and design. Enjoy!


