How to Make a Fabric Tie Banner
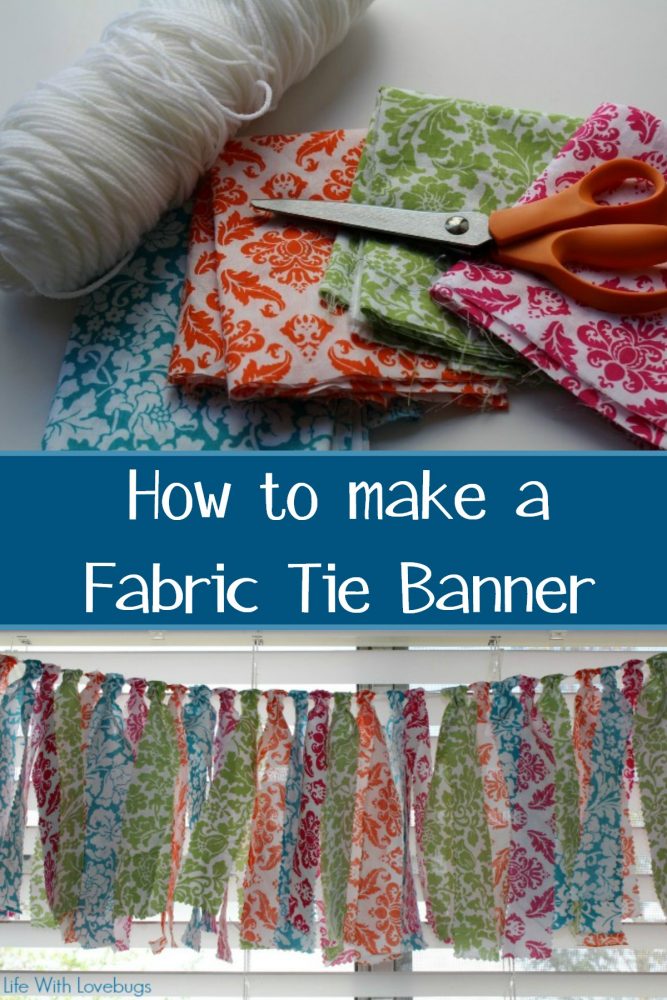
Last month for my daughter’s 7th birthday she requested a luau theme. I’m not sure where she got the idea since she has never been to Hawaii, but I have a sneaking suspicion that Disney’s Lilo and Stitch may have had some influence on her. I was able to find a lot of very cute decorations at the Dollar Store but still wanted to make something special just for her. I decided to make a fabric tie banner, also known as a scrappy banner.
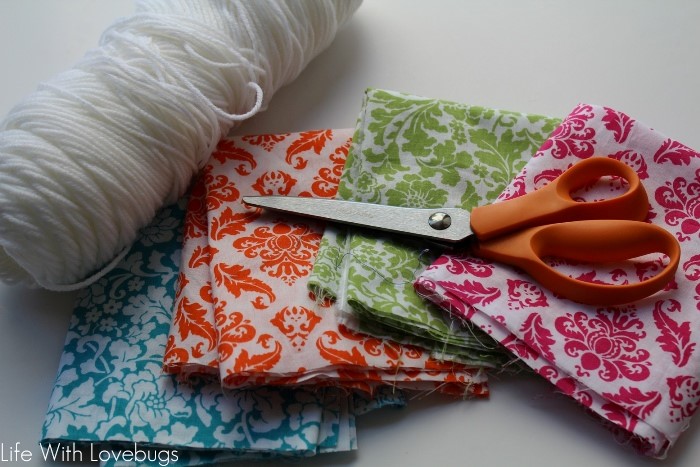
Supplies:
- fabric – I used 4 prints, 1/3 yard each
- scissors, preferably pinking shears
- string, yarn, ribbon, or twine
Instructions:
First, cut your fabric into strips. I used pinking shears because they prevent fraying, and with all of these unfinished fabric pieces there will be a lot of loose threads!
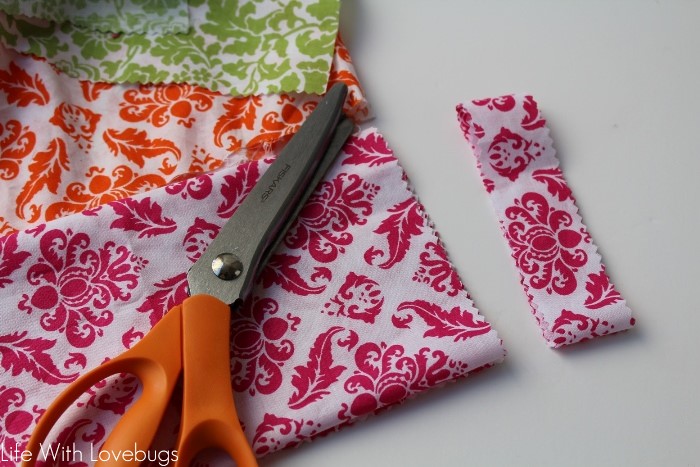
I cut my fabric in half so I had 2 pieces 12 x 22″, then put each piece into stripes 1.5 x 22″.
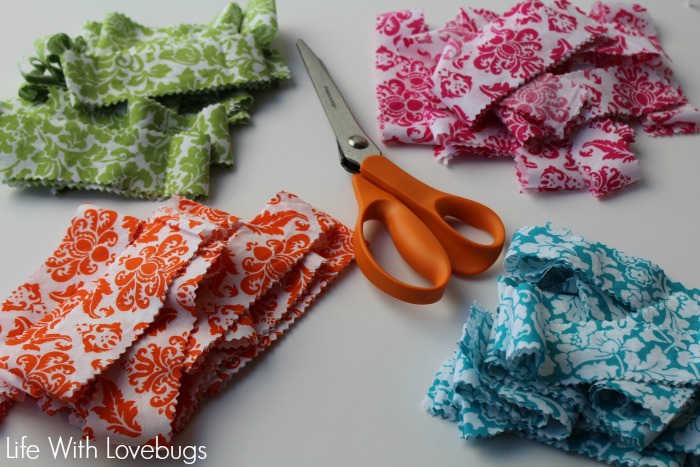
Next, I took each strip and tied them to a piece of yarn.
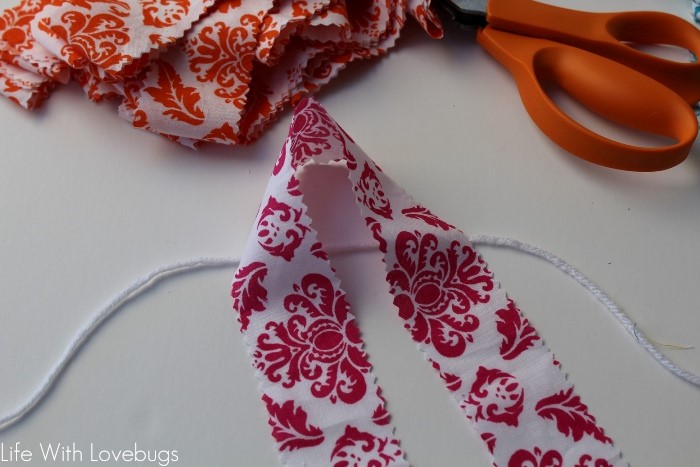
Be sure not to tighten each knot too much because you will need to move them easily along the string as you make more.
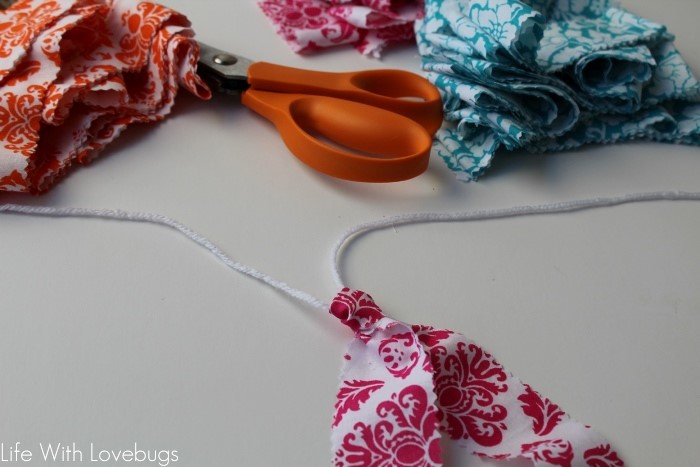
You can also use ribbon, twine, string – whatever you have on hand.
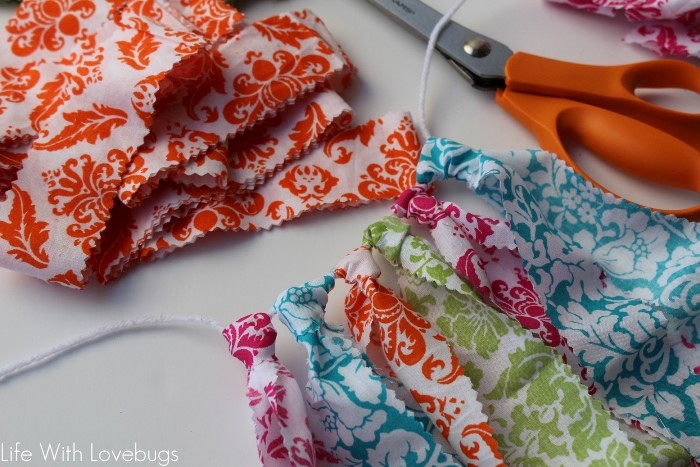
Once each piece was tied, I measured out how long my banner needed to be and tied loops at the end of each side to hook onto nails in the wall.
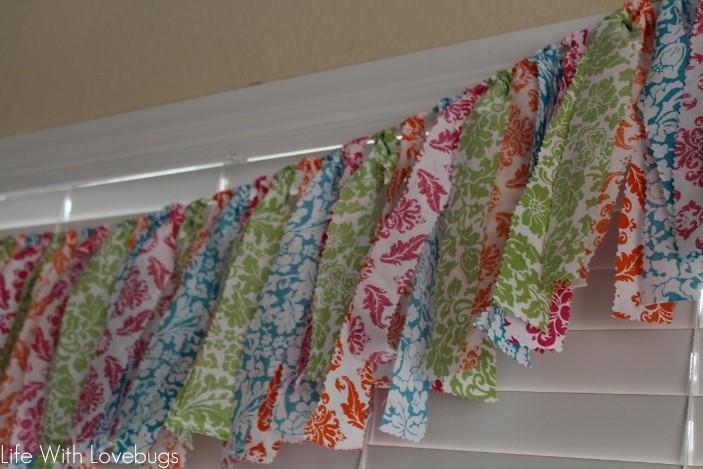
Pretty, isn’t it? I received so many compliments on my banner at my daughter’s party. You don’t have to use new fabric, scrap fabric or even an old sheet would work. A friend of mine made a fabric banner using the sheets and drapes from her daughter’s nursery so that there was a lasting memory in her room. I wish I would have thought of that when I took down my daughter’s nursery!

