How to Make a Fleece Fringe Scarf – Video Tutorial
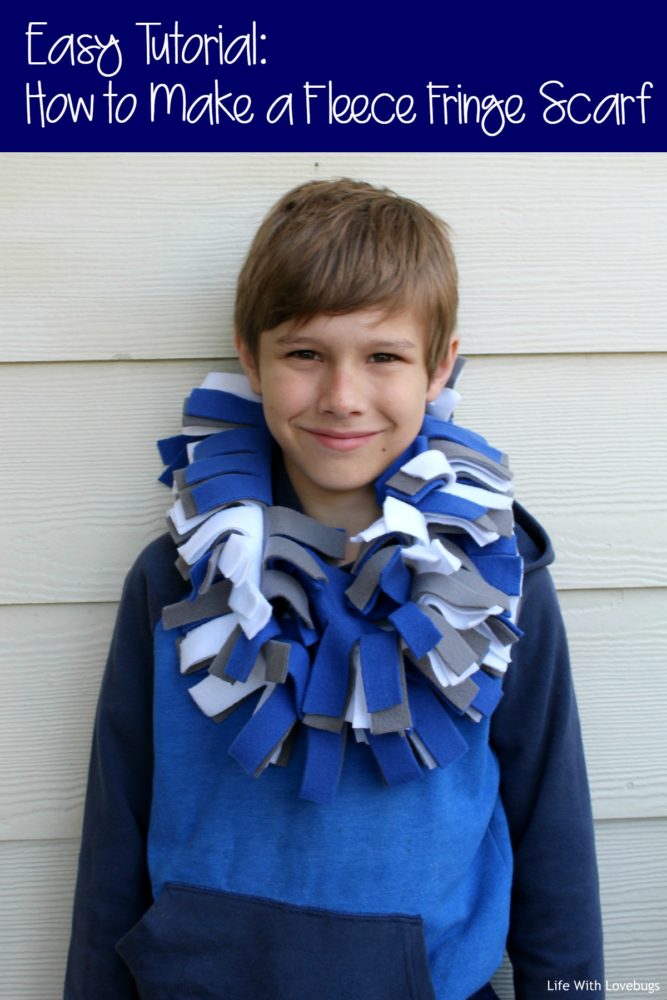
The winters here in Texas are much colder than those where we came from in Southern California, we weren’t expecting this! In the town we live in there are a lot of fun holiday events that are outside, so I wanted to make a scarf to wear.
This fleece scarf is very easy to make, if you can cut fabric and sew a straight line then you can make it! Start with fleece fabric in 3 colors of your choice. These can be school colors, or team colors, or just your favorite colors! I chose our school colors – royal blue, white and grey.
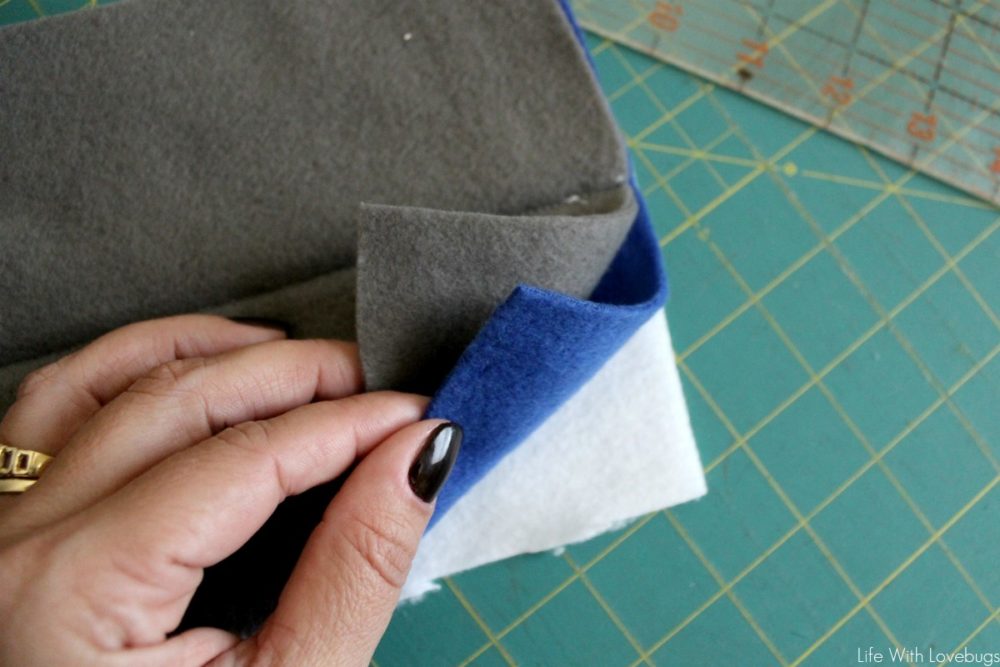
Next, you’ll need to cut a 6-inch wide piece from each color. The length of the scarf will depend on your personal preference of length, as well as who the scarf if for – adults or kids. For the first scarf, I made I just used the full length of the fabric bolt, which was 58 inches. This worked great for me but was too long for my kids. So, be sure to measure and trim accordingly.
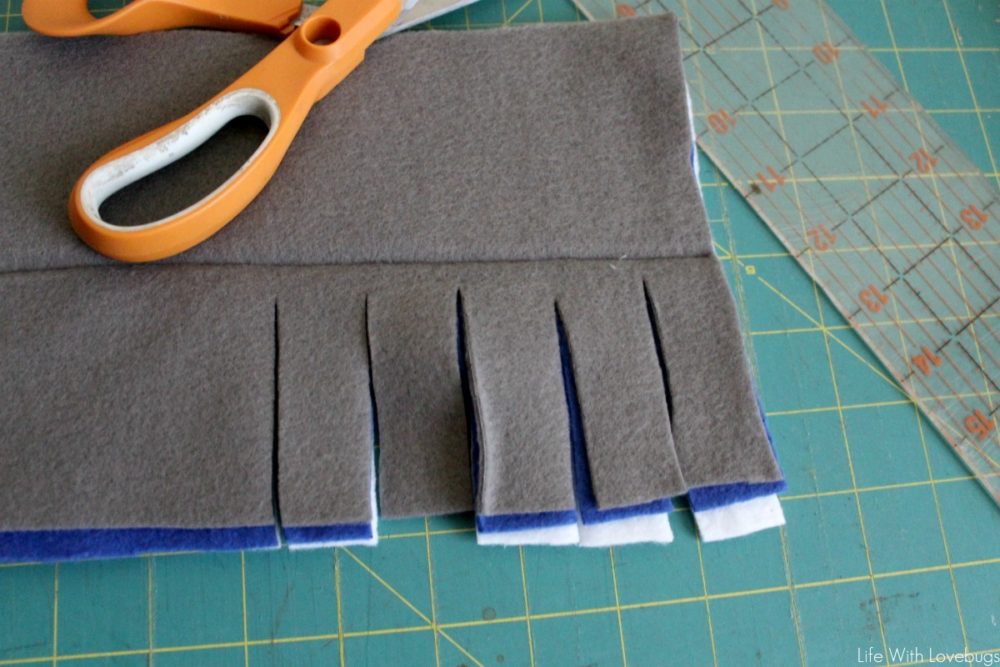
Layer your pieces and stitch a line right down the middle, don’t forget to backstitch at the beginning and end.
Now you need to cut your fringe. Along each side of the middle stitch, make 1-inch cuts from the edge to the right before the stitch line, be sure NOT to cut over the stitch line. Repeat on the other side.
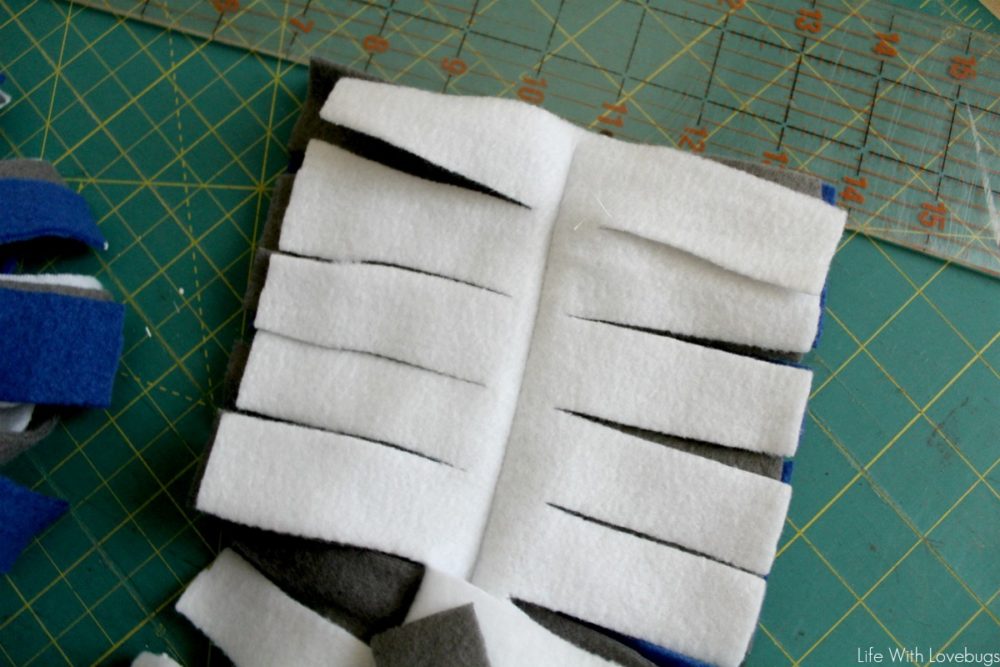
Once you’re cut down both sides, shake out the scarf to fluff up the fringe. You can also throw it in the dryer.
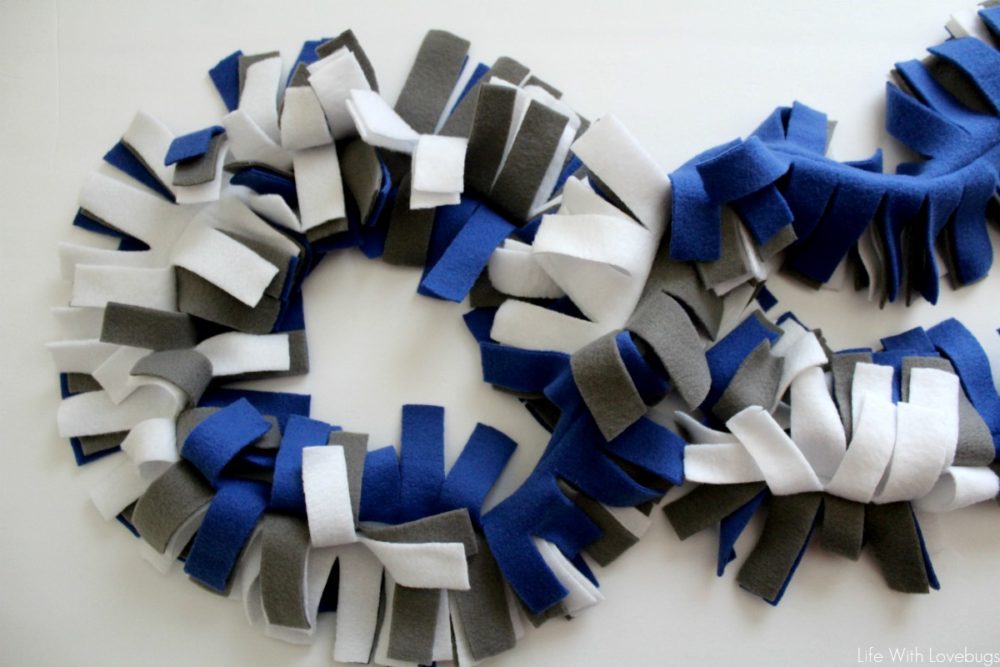
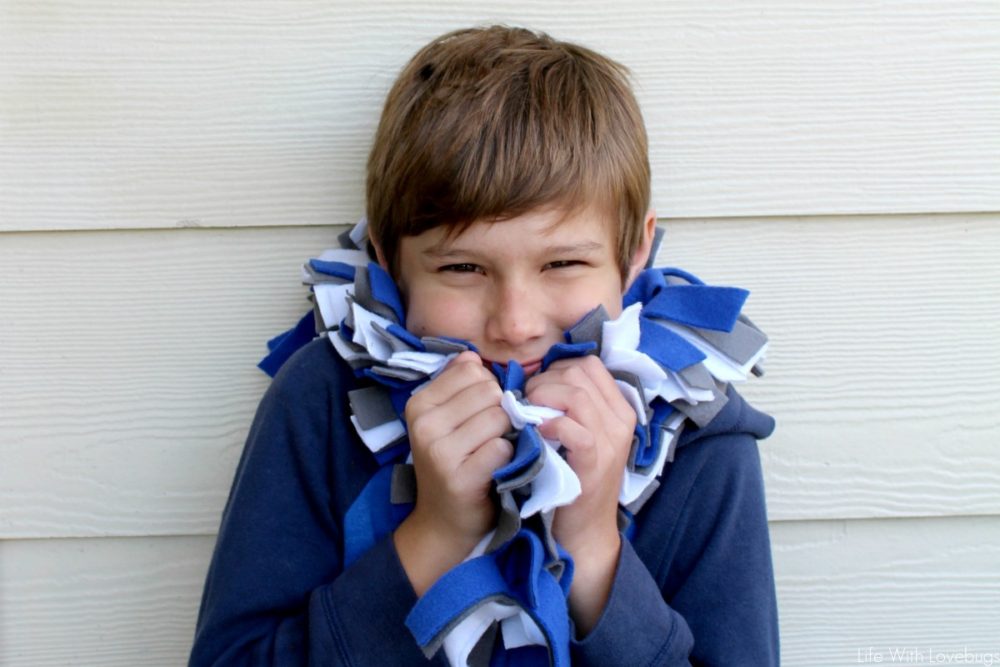
Now you’re done, and you’ve got a warm and festive scarf to wear all winter!
