DIY Paper Fan Tutorial + Video

A couple of years ago when we first moved to Texas, our city had a parade in the downtown plaza. We had never been before and were told by our neighbors to be prepared for crowds, bring chairs, and arrive early. We did all of this and got great front row seats! The only thing we did not expect was the searing heat. Luckily, a local business was handing out paper fans, which we took gratefully.
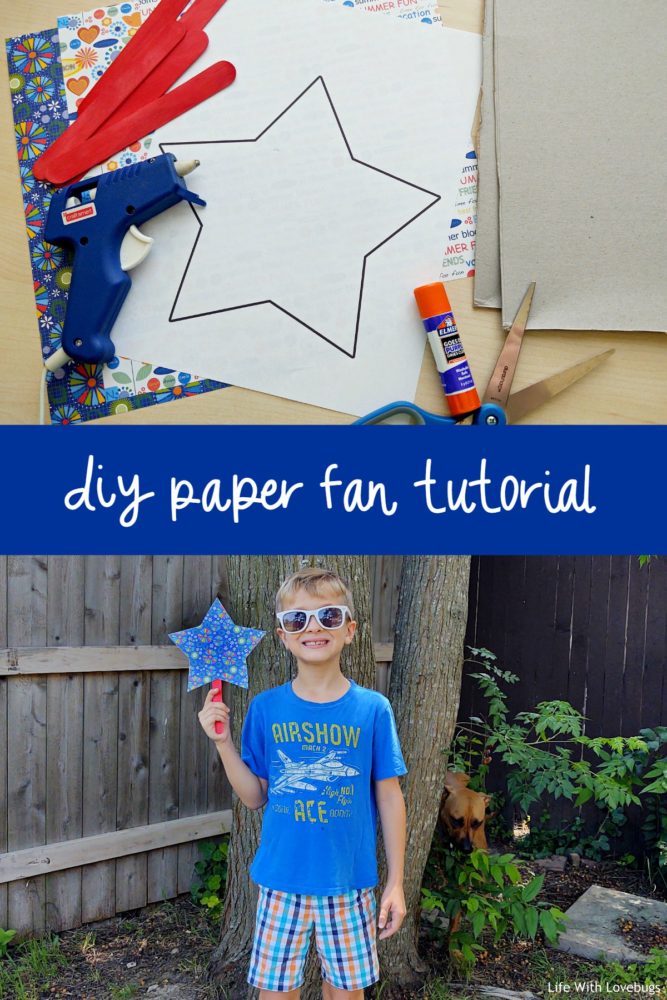
This year, I wanted to make our own fans! I have a pack of seasonal papers so I decided to pull out some summery prints that we could use for a few months at different events. I made a video of how to make them, it’s really easy and if you’re even just a little bit crafty then you might have everything you need already!
Materials:
- Seasonal printed paper
- Scissors
- Star template
- Glue stick
- Cardboard
- Jumbo craft stick
- Hot glue gun
Instructions:
- Print the star template on the back of your seasonal paper. You can also print out the star and use it to trace on the back of the paper. This would be your best option if you want the pattern of your paper placed a certain way.
- Using the glue stick, glue the cut-out star onto a piece of cardboard. This is a great use of upcycled materials – cereal or snack boxes work great!
- Cut out the star on the cardboard.
- Use a hot glue gun to attach the jumbo craft stick to the back of the fan.
Print: Paper Fan Star Template & Instructions
The links below are affiliate links. For more information, please view our Disclosure page.
This article was originally published in 2020 and has been updated for 2022.


