How to Make Paper Pumpkins
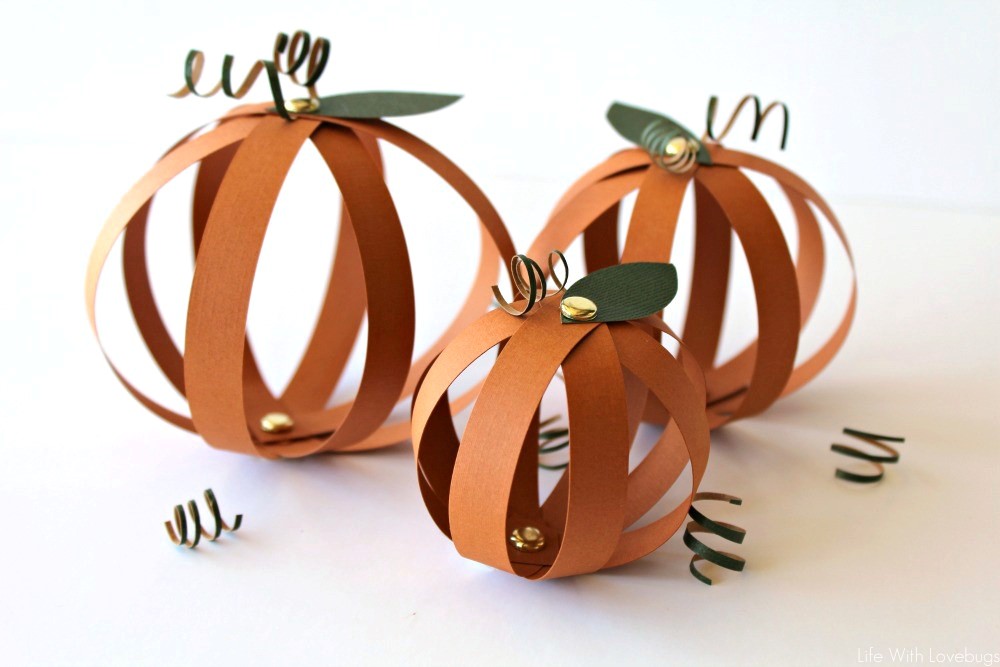
Fall making its way here and I’m starting to think about all the pumpkin recipes and crafts ahead! We’ve been in our new house for six weeks and I haven’t added anything to the walls or front porch just so that I can go all out for the upcoming seasons. As you know, I love quick and easy projects that make decorating easier so these Paper Pumpkins are perfect for me!
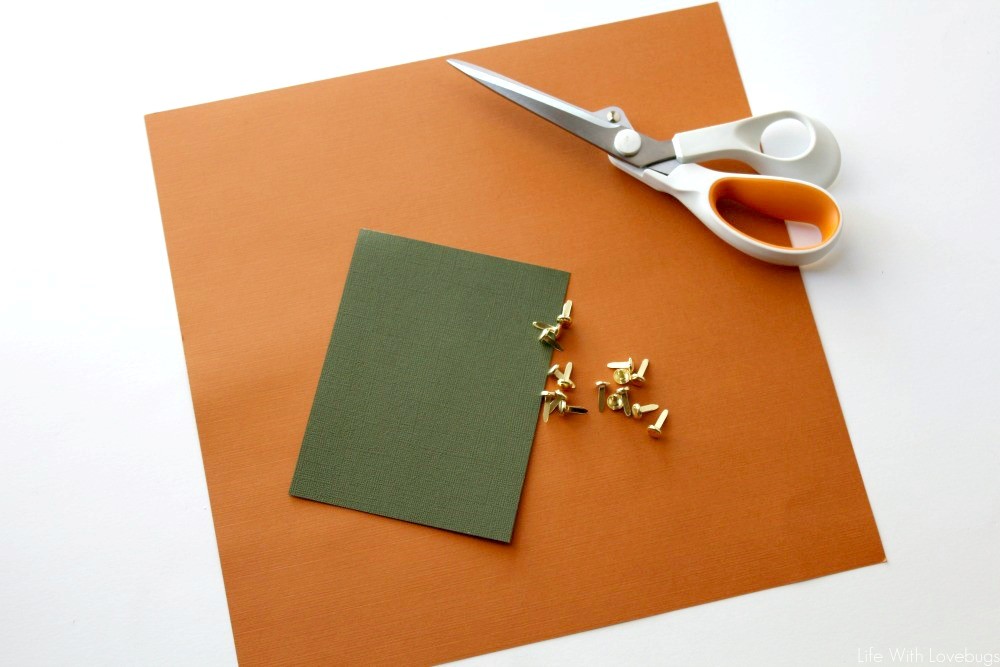
Supplies:
- Orange cardstock
- Green cardstock
- Scissors
- 1/2″ brads
- 1/16″ Hole punch or awl
Directions:
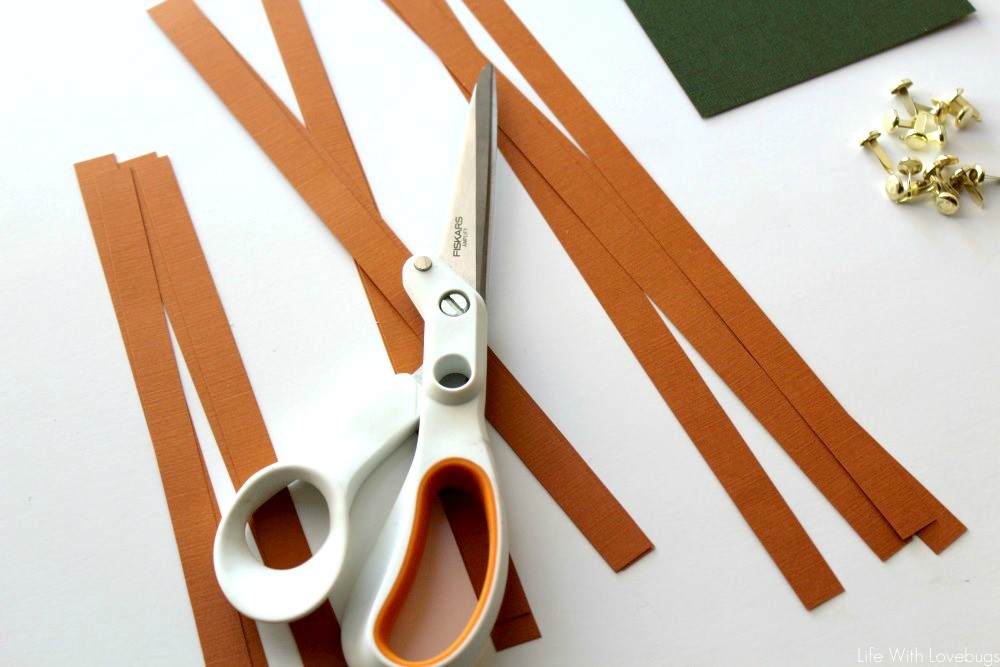
Cut your orange cardstock into (4) strips 1/2″ wide. I made three pumpkins by cutting stripes 8″, 10″ & 12″ long.
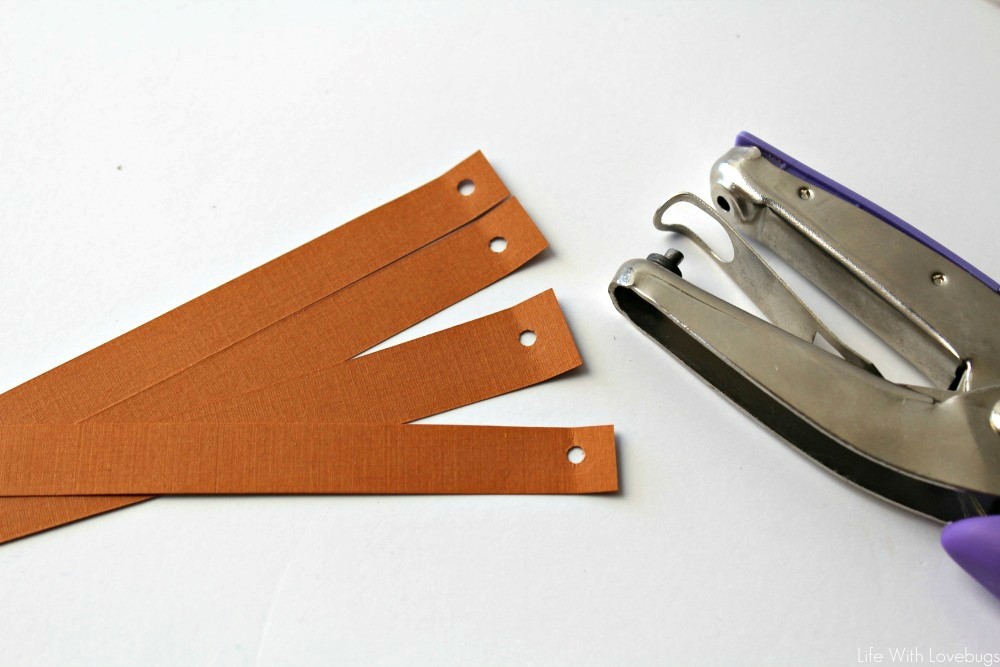
Use the hole punch, or an awl to punch holes on either end of all your strips.
Then put the brad through all the holes in one end and loop the strips back around and fasten the brad.
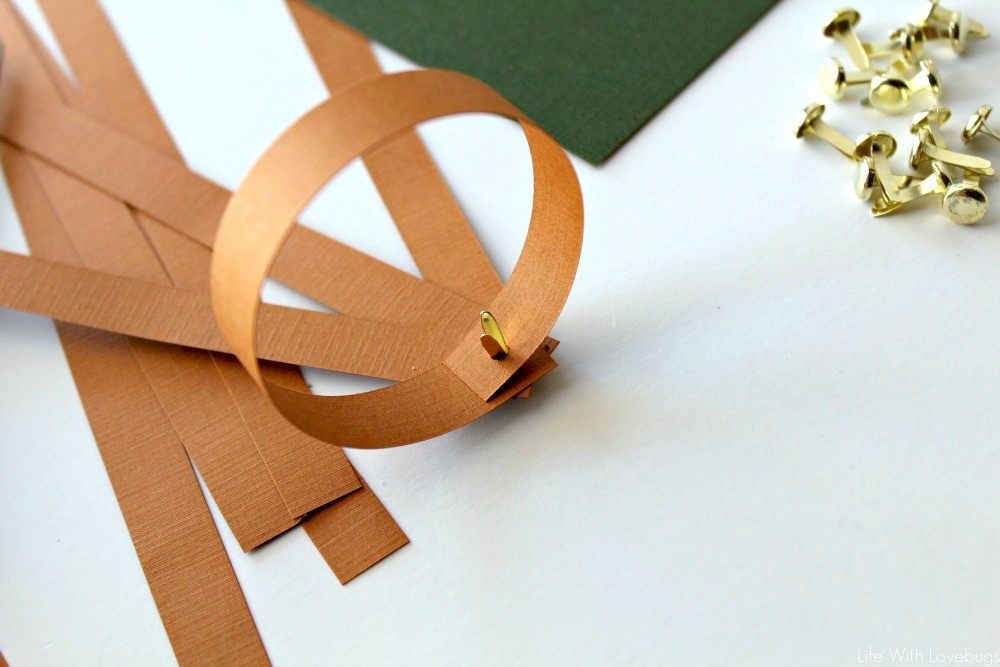
Be sure that the brad fastener is on the outside of the pumpkin so that the bottom is flat.
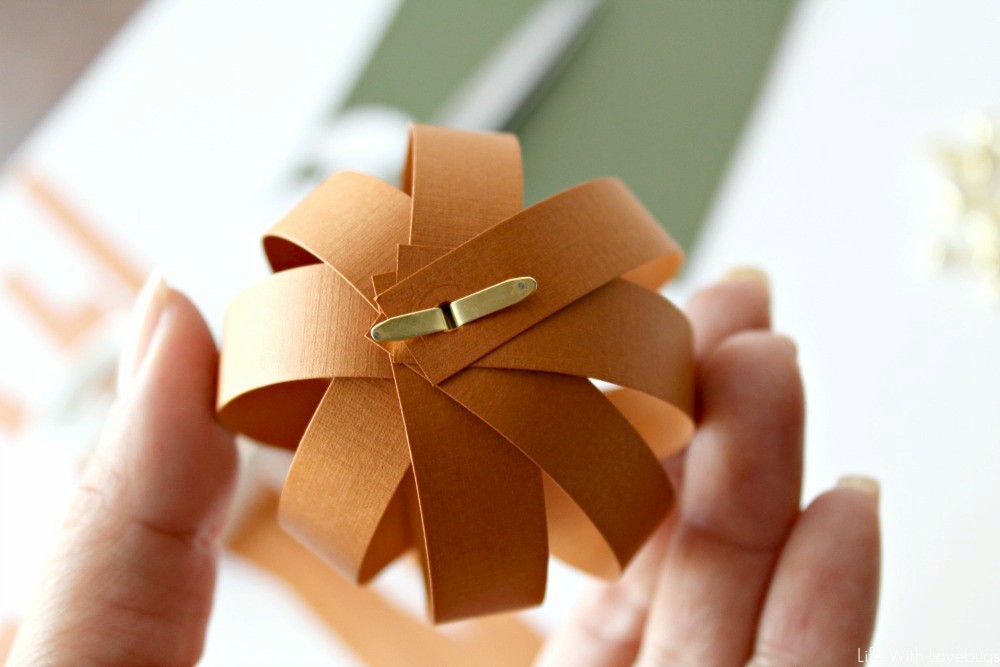
Cut a leaf from the green cardstock then punch a hole in one end, punch a hole through the top of the pumpkin and fasten a brad through the hole.
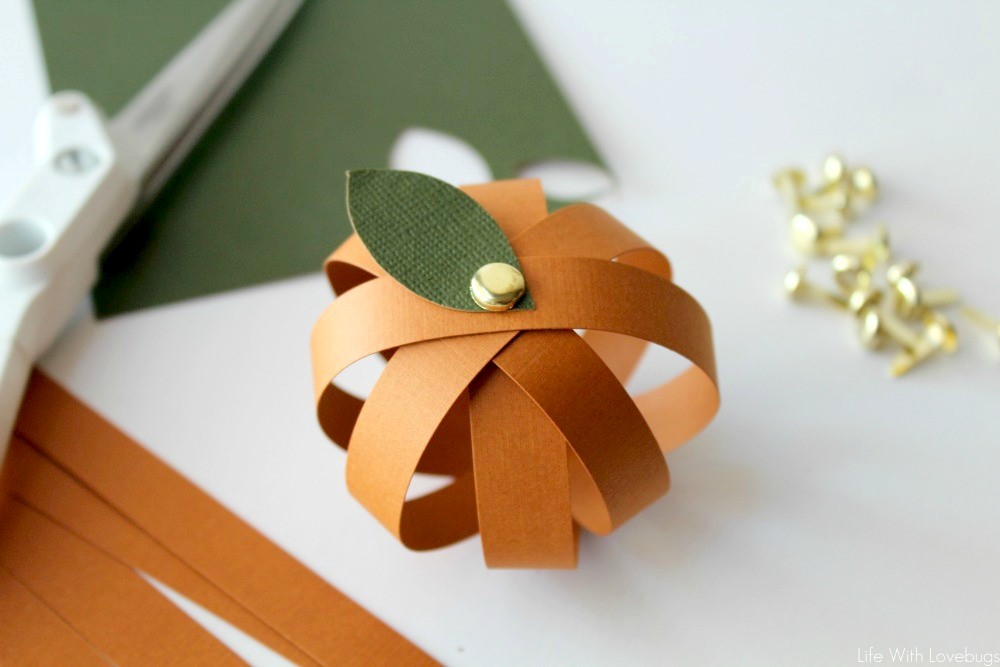
Next, cut thin strips from the green cardstock and wrap them around something thin and round, I used a kabob skewer.
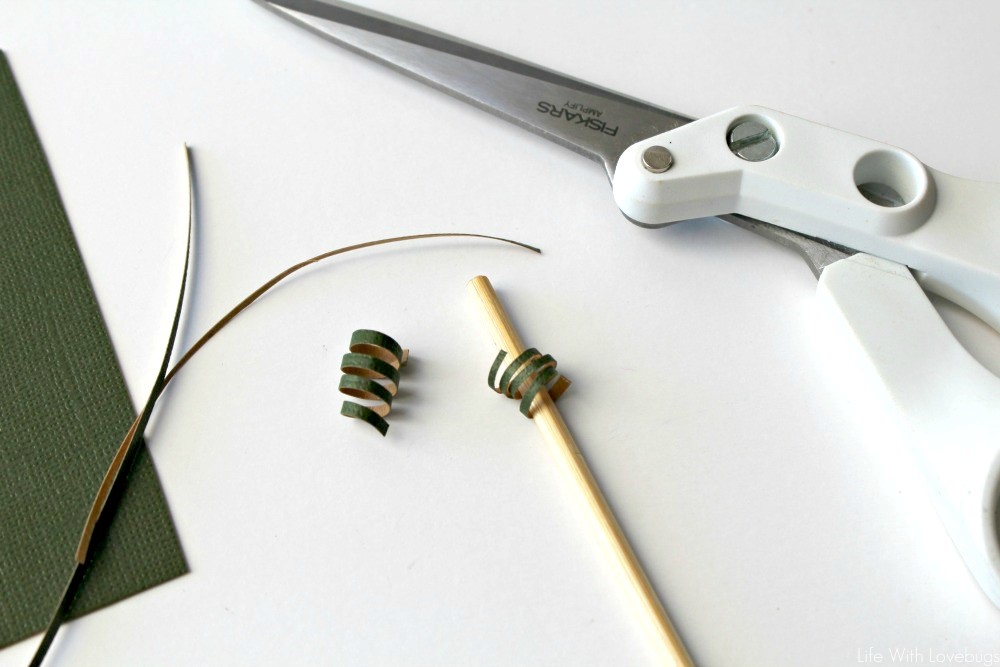
Gently wedge the curled pieces under the leaf, you can secure with glue if you need to.
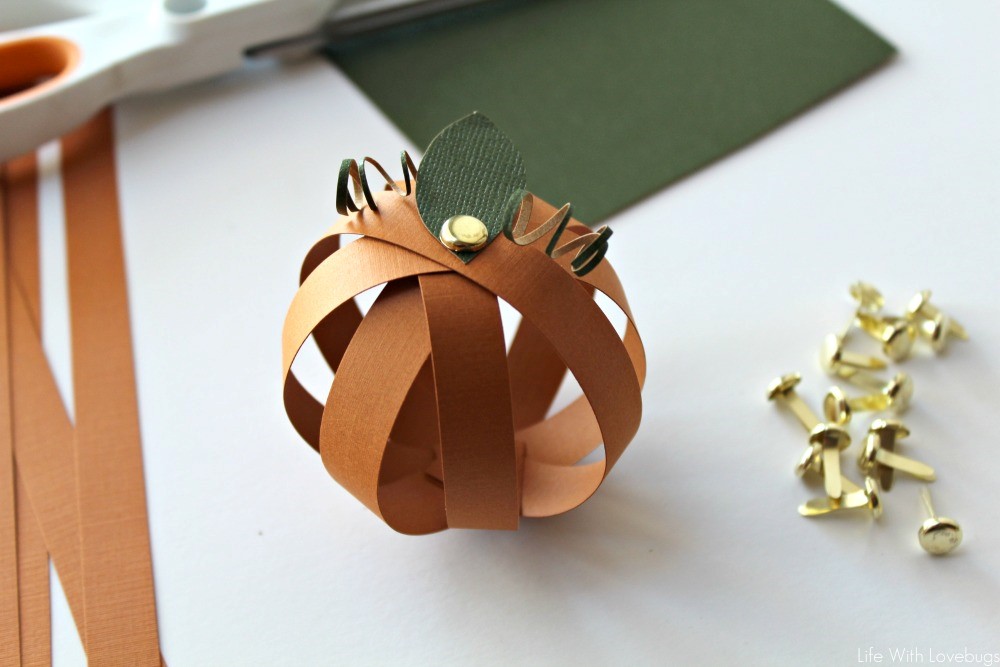
That’s it! Quick and easy, just like I promised. You can use printed paper or different colors, more paper strips for a fuller pumpkin. There are lots of possibilities for these little cuties.

One last tip – I want the pumpkins to sit a certain way on the shelf, so when displaying these I added a small strip of double-sided tape to keep them from falling over. Thanks for checking out my Paper Pumpkin tutorial, if you make some of these for your own home I’d love to see a picture!

This post contains affiliate links. For more information, please view our Disclosure page.

Making some now.
So Cute, Love this.
Mirella.